
We have a ton of kids books. They've overflowed from the little book bin in their room and on to the adult bookshelves and almost every other surface in the house so I really wanted a way to get some of those books in their room. I looked around for just where to put this shelf for books (having two concrete walls in their room makes hanging things hard) and then I saw it... that too often overlooked, underused, empty wall. behind the door...
I pulled out the measuring tape and determined I had about a 3 inch deep by 18 inch wide by 6+ foot area of unused wall space and immediately decided a book rack would fill it in nicely. Off to the hardware store with the boys (always a fun time) to pick up the supplies. I had intended on getting thin wood dowels as the supports to hold the books in but then I saw the pine yard sticks in the paint section. They were cheap (90 cents) and the blue type fit the room's color scheme...

I laid out my boards like a ladder. Measuring and marking as I went. I put a 15 1/2" wide board as a shelf every 12 inches. Then I decided I wanted a couple of shelves to be an inch larger... re-measured, re-marked. Once I had the markings all set I laid it out in the garage and prepared to use the hubby's nail gun (sweet!). Wood glue first, place shelves using pencil markings as guides and speed square to keep everything neat, then NAIL.

Once you have the 'ladder' all glued and nailed together you're ready to put on the rails. I cut the yardsticks to the same width as the whole book rack. I decided to use the middle portion so we wouldn't have the Lowe's logo on them (or the barcode)... Can't believe I got permission to use the saw. Can't believe I didn't lose any fingers.

Use wood glue to attach to the rack. Then nail or clamp in place to hold until the glue dries. I placed my yardstick rails about 2 inches above the shelf. I did not add lips to the shelves but it would probably be a good idea to do so. The 1/2" x 2" boards cut to width of the rack would work well.

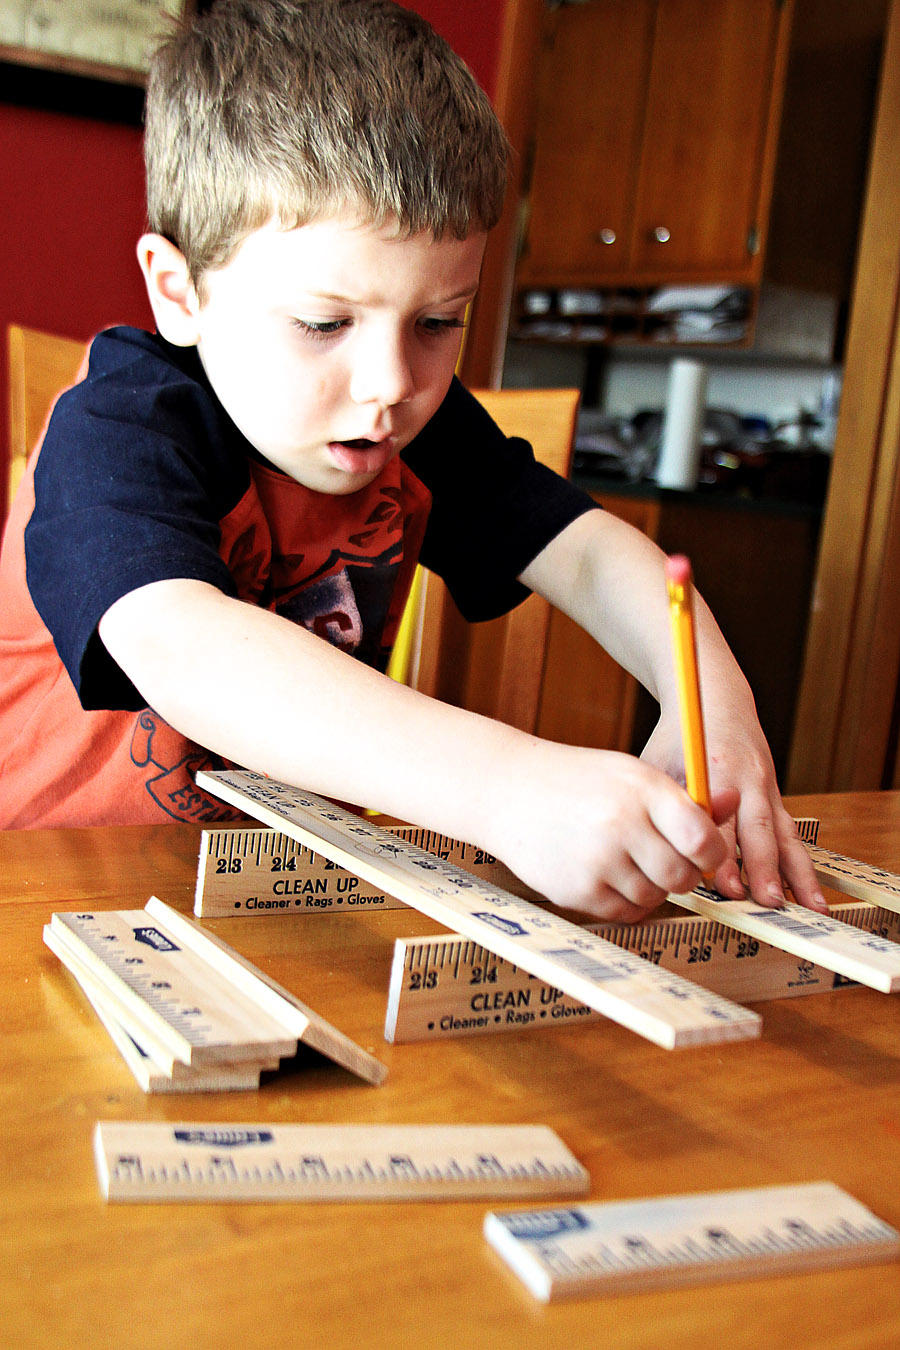
The scraps from the yardsticks will provide hours of entertainment for the kids...

Last step was to ask the husband to hang the shelves. I am not qualified to do this. My husband is ok with the book rack being a little wonky but he would not be ok with me wonking up the walls....

Fill with books. Rearrange several times. Try arranging by color. then by author. then decide your kids are going to mix it all up anyway and put their favorites on the lower shelves that they can reach. Step back and admire.


So under $20 and 2 hours of time (with little kiddos interrupting) makes me one happy mama with the results!
e


That's really clever. I might do that for magazines.
ReplyDeleteGiven that I live in a NYC sized home here in Chicago...and HAVE 1000s of books...
ReplyDeleteI am bookmarking this to show the DH!
If you have a moment tonight, please stop by Creative Juice Thursday and show this off!
http://momnivoresdilemma.blogspot.com/2011/01/creative-juice-8-freshly-featured-and.html